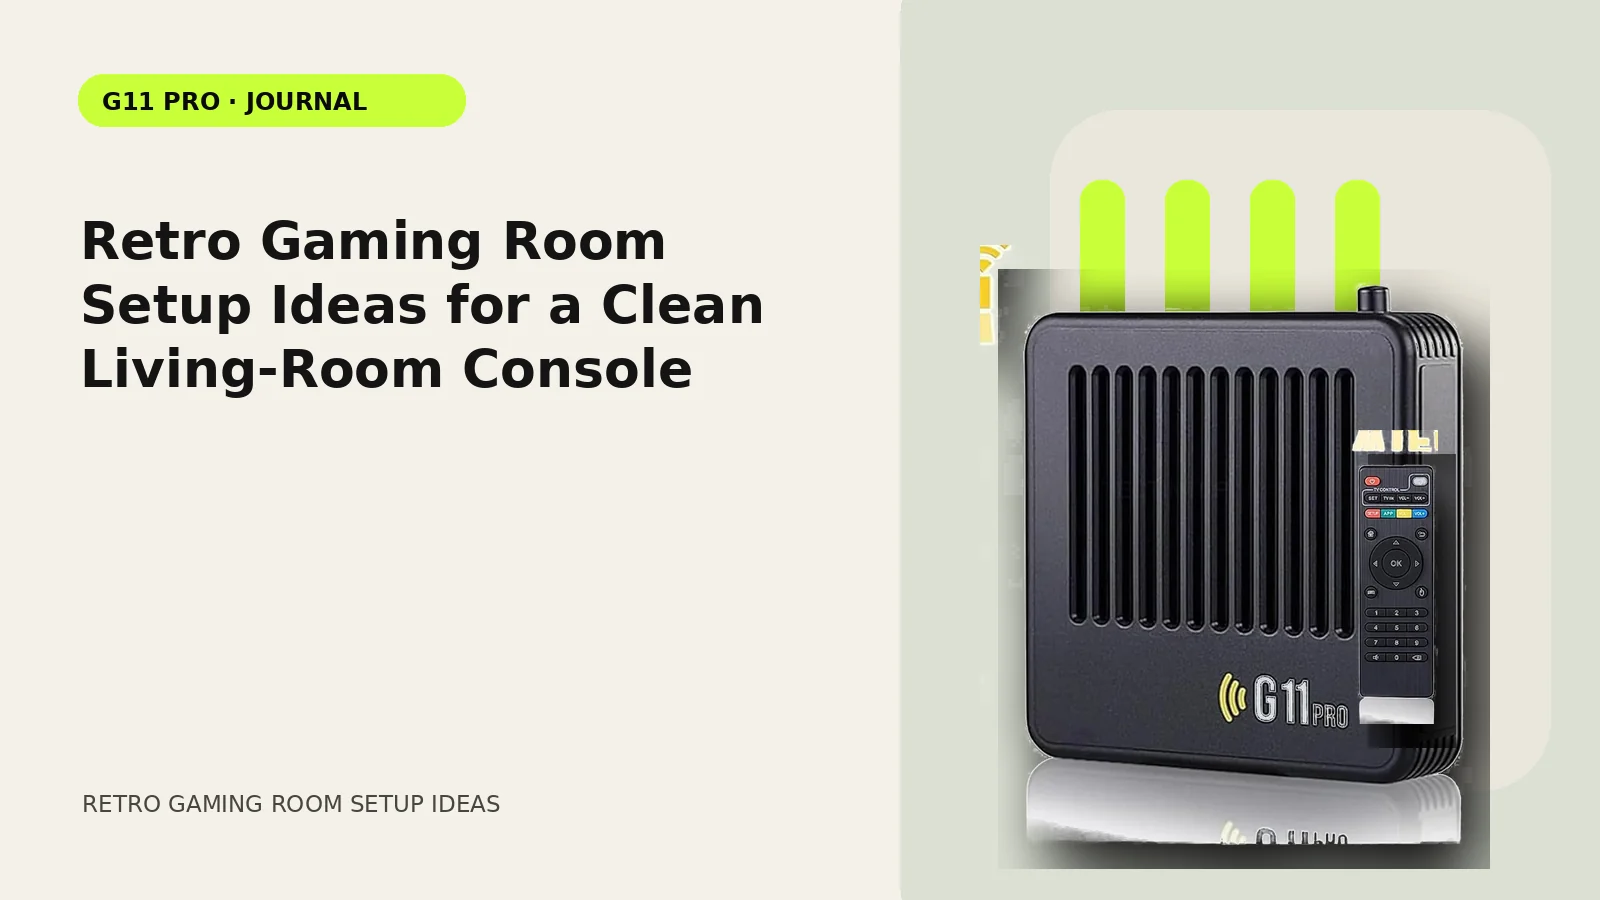
A good retro setup does not need a neon arcade room. The goal is to make the console easy to start, easy to put away and comfortable enough that people actually use it.
Keep the console permanently connected if possible
The biggest friction is often not software—it is searching for a cable every time. A small console can live behind or beside the TV if ventilation remains open and the controller receiver has a stable position.
Give controllers a home
A tray, small drawer or controller stand keeps pads and batteries together. For rechargeable controllers, route one charging cable to the storage spot instead of moving the controllers around the room.
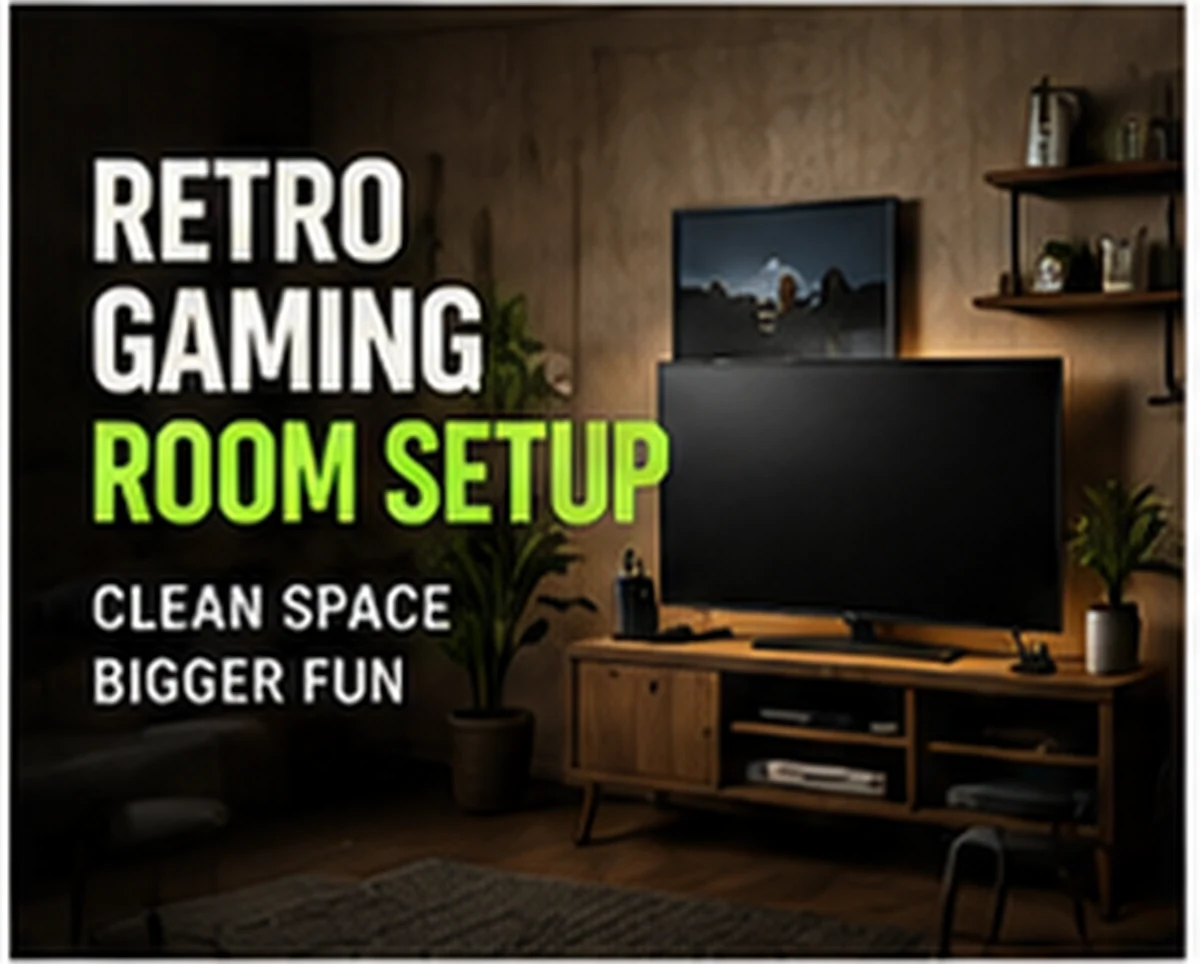
Use the television input name
Many TVs let you rename HDMI inputs. Labeling the port “Retro” or “Game Console” helps guests and family members start the system without guessing.
Plan seating for two players
For local multiplayer, both players should have a clear line of sight and enough elbow room. Very large screens can be uncomfortable when viewed from too close, so adjust seating before chasing bigger display settings.
Keep a short favorites list
Large libraries create choice fatigue. A favorites collection for party games, short arcade sessions and family-friendly titles makes a shared game night easier than scrolling through thousands of entries.
Compare setup styles in our Retro Gaming Guides, or check the live G11 Pro product page for current storage, price and verified box contents.