There is no universal “perfect” television preset because panels and rooms differ. But there is a safe starting point that avoids the settings most likely to distort classic games or add unnecessary latency.
Enable Game Mode
This is the first setting to test because it normally disables processing that adds latency. If your TV offers separate Game and PC modes, compare both with the same console and game.
Use original or 4:3 aspect ratio when appropriate
Stretch only when you prefer the look. Many retro games were authored for 4:3 displays, so preserving that shape avoids wide characters and oval circles.
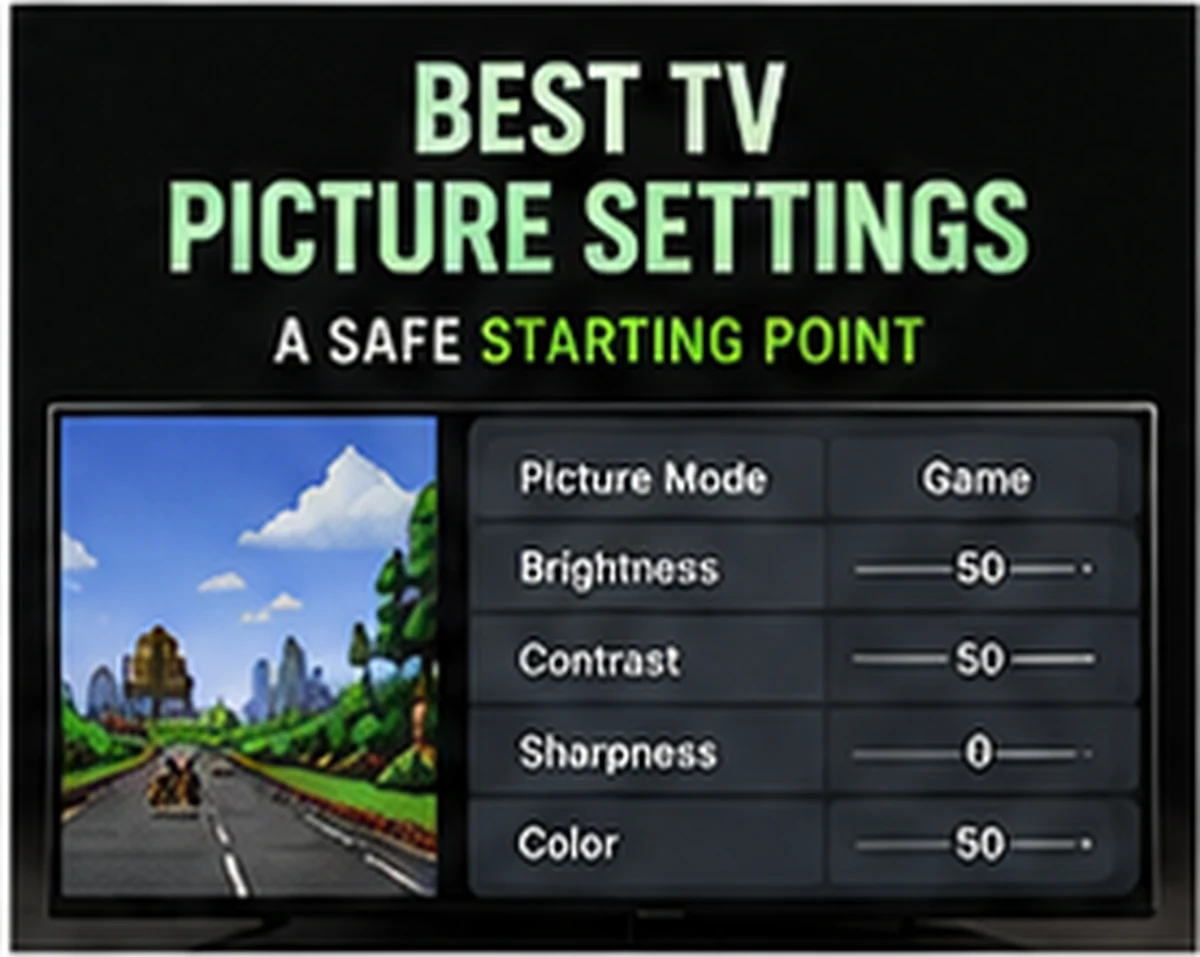
Keep sharpness conservative
High sharpness can add bright outlines and ringing around pixel edges. Start low or neutral, then increase only if the picture genuinely looks too soft from your seating distance.
Disable motion smoothing
Frame interpolation is designed to make video look smoother by creating intermediate frames. It is unnecessary for most retro gaming and can increase input delay or create visual artifacts.
Adjust brightness for the room, not a screenshot
A dark-room setting can look washed out in daylight and a bright daytime setting can be harsh at night. Save per-input presets if your television allows it.
Compare setup styles in our Retro Gaming Guides, or check the live G11 Pro product page for current storage, price and verified box contents.